Submitting your work (GitHub)
We are using GitHub to submit the solutions. Each homework is submitted in a GitHub repository. The repository is created through a link included in the exercise description. The solution of the exercises are created within these repositories, then committed and pushed to GitHub. The submission is finished with a pull request assigned to your lab instructor.
IMPORTANT
The submission requirements detailed below and mandatory. Submissions not following these guidelines are not graded.
Short version, aka. TL;DR
The detailed description below shows the entire procedure. This summary is an overview of the whole process.
-
The exercises are solved in a dedicated GitHub repository created using a GitHub Classroom invitation link published in Moodle.
-
Your solution is submitted on a new branch, not on master. You can create any number of committed on this branch. You need to push these commits to GitHub.
-
You submit your final solution through a pull request assigned to the instructor.
-
You can ask questions regarding the results and evaluation in the pull request comment thread. To notify your instructor use the @name annotation in the comment text.
Starting your work: git checkout
-
Register a GitHub account if you don't have one yet.
-
Open the course page in Moodle and find the invitation URL. This link is different for each homework; make sure to use the right one.
-
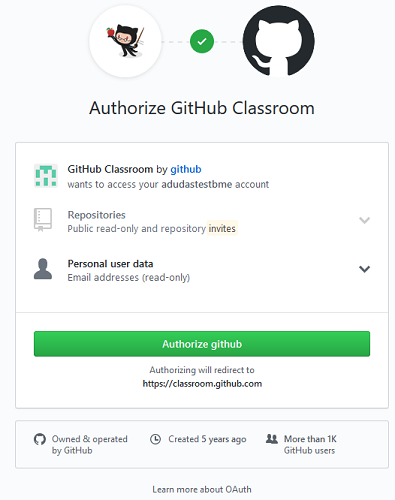
If needed, authorize the GitHub Classroom application to use your account data.
-
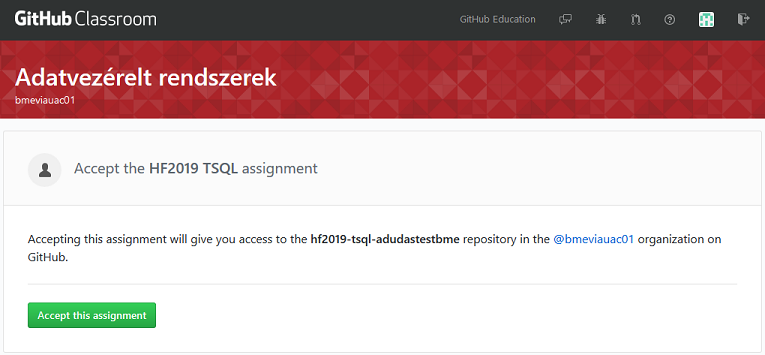
You will see a page where you can "Accept the ... assignment". Click the button.
-
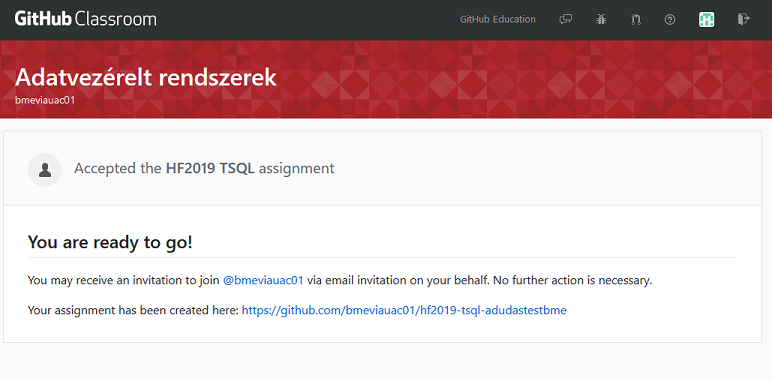
Wait for the repository creation to finish. You will get the repository URL here.
Note
The repository will be private. No one but you and the instructor will see it.
-
Open the repository webpage by following the link. You will need this URL, so remember it.

-
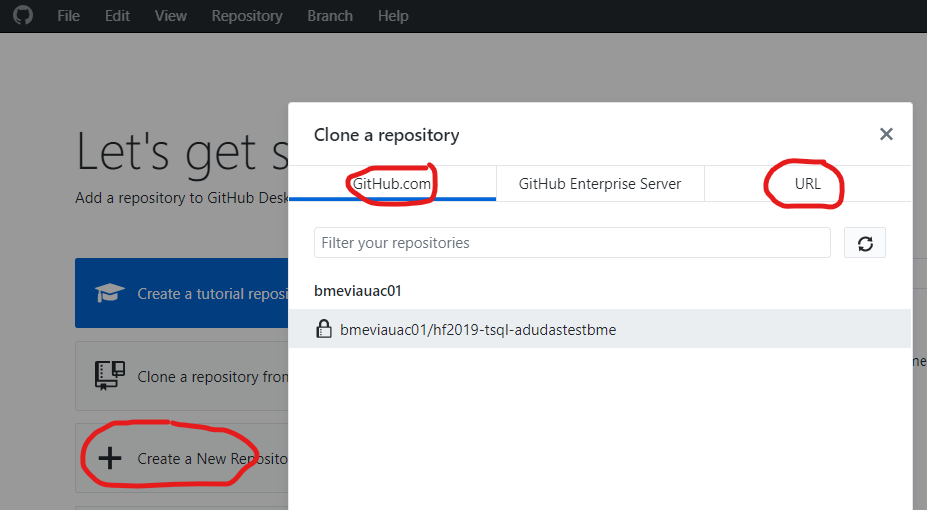
Clone your repository. You will need the repository git URL, which you can get from the repository webpage following the Clone or download button.
You may use any git client. The simplest one is GitHub Desktop if you do not have a favorite yet. You can list your repositories in this application directly from GitHub.
If you are using the shell or the console, the following command performs the clone (if the
gitcommand is available):git clone <repository link> -
If the cloning is successful, DO NOT START WORKING YET! The solution should not be committed to the repository
masterbranch. Instead, create a new branch with the namesolution.In GitHub Desktop, use the Branch menu for creating a new one.

If using the console, use the following command:
git checkout -b solution -
Complete the exercises on this branch. You may have any number of commits and pushes.
Check the name used for committing
Before you make your first commit, check whether your name and email address are properly configured. You can check this using the following commands.
git config user.name
git config user.email
If the values are not correct, set your name and email address with the following commands executed in the repository directory. This will set the values for the repository. (It is recommended to set the email address to the one you use with GitHub.)
git config user.name "John Doe"
git config user.email "john@doe.org"
To avoid having to set this for all repositories, you may want to set the name and email address globally using the
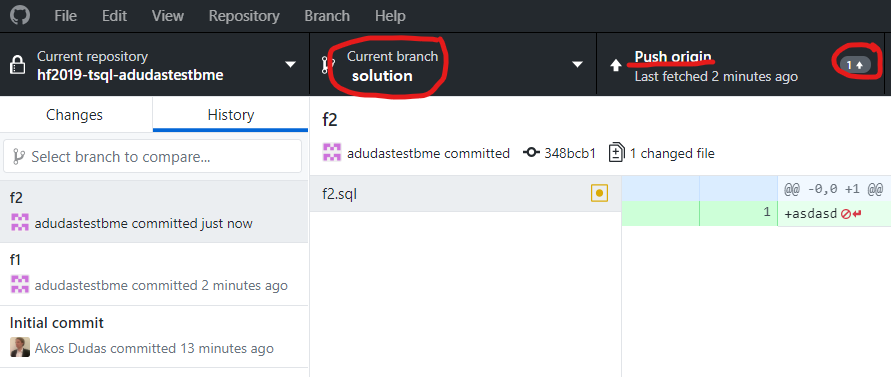
--globalswitch in the commands above.To commit using GitHub Desktop, first check if you are on the right branch. During the first push, the solution branch needs to be published.

When adding further commits, verify the branch. You can publish the commit using the Push origin button. The little number on this button shows you how many commits need pushing.
If you are using the console, use the following commands:
# Check the current branch and the files modified
git status

# Prepares all changes for commit
git add .

# Commit
git commit -m "f1"

# Push the new branch (first time)
git push --set-upstream origin solution

# Push futher commits
git push
Submitting the solution
-
When you are ready with the exercises, verify on the repository web page that you uploaded everything. You may need to switch branches.
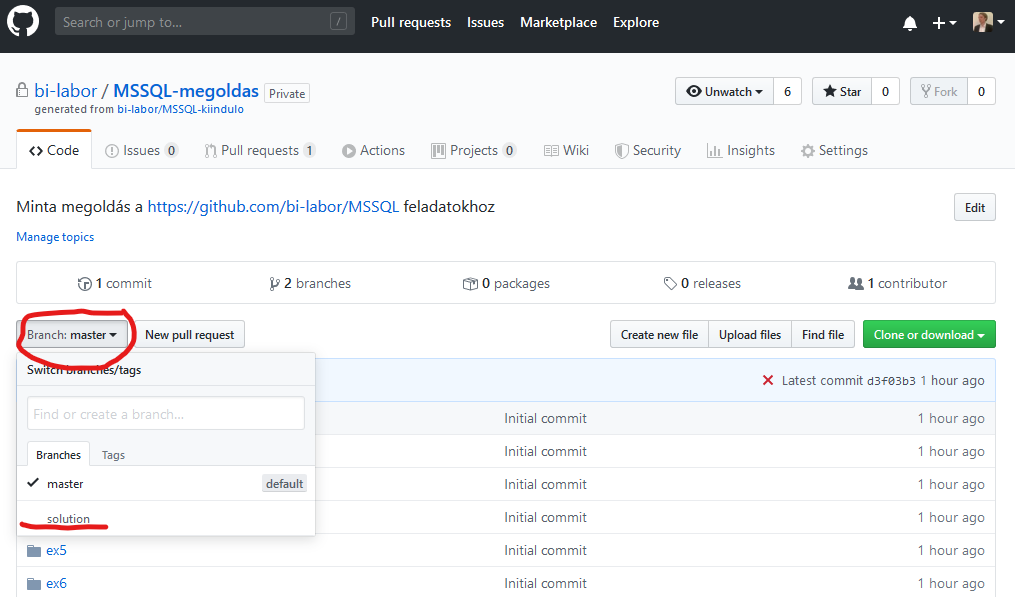
GitHub web file upload
We recommend that you do not use GitHub web file upload. If something is missing, add it to your local repository and commit and push again.
-
When you are truly ready, open a pull request.
Why the pull request?
This pull request combines all changes you made and shows us the final result. This helps the instructor to evaluate your submission more easily by seeing all changes at once. This pull request means you submit your solution; hence this step cannot be omitted.
To open the pull request, you need to go to the repository's GitHub web frontend. If you pushed recently, GitHub will offer you to create the pull request.
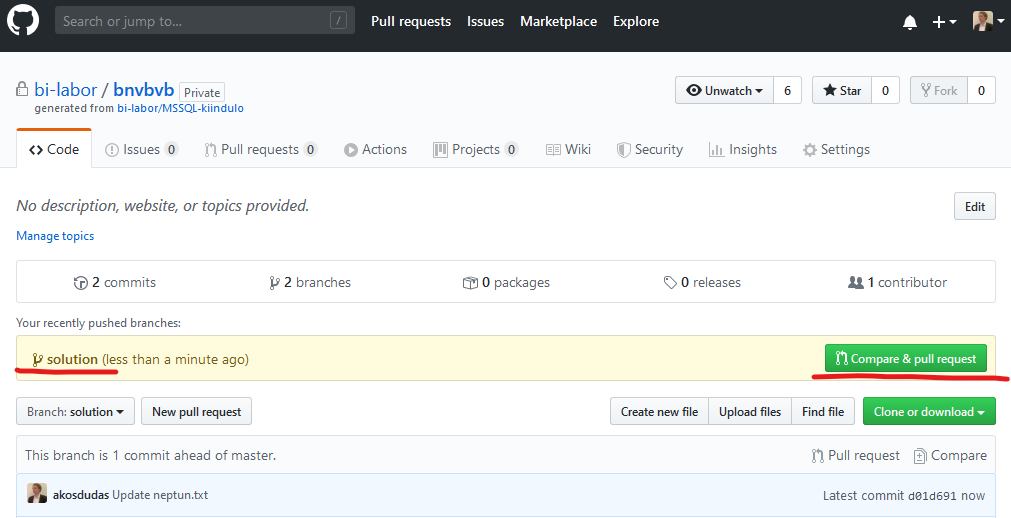
You may also open the pull request from the menu at the top. It is important to specify the correct branches:
masteris the target into whichsolutionis merged.
When the pull request is created, you will see a little number "1" on the Pull request menu showing you that there is one open item there. YOU ARE NOT FINISHED YET!

-
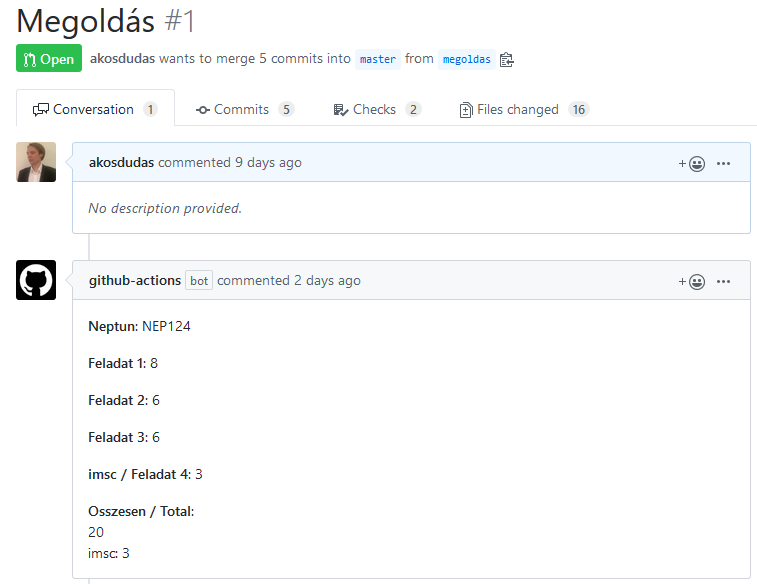
The pull request will trigger a preliminary evaluation. You will see the result of this evaluation as a comment added to the pull request thread.
This will be different for each homework. Your code will be executed and tested, and you will receive a preliminary result too.
If you need more information about the evaluation and the results, GitHub Actions can provide you more. A short introduction is provided here.
-
If you are not satisfied with your work, you can make further changes. You only need to commit and push your changes. Any changes pushed will re-trigger the evaluation of the pull request. We ask that you trigger NO MORE THAN 5 evaluations!
Making further changes without running the evaluation
If you want to make changes to your submission and not have the re-evaluation run, you should convert the pull request to draft.

This state means work in progress. You can commit and push freely. These will not trigger any evaluation. Once ready, you must change the state back: go to the bottom of the PR and click "Ready for review." This will set the PR back to its normal state and trigger an automated evaluation.

Maximum 5
Evaluations that fail due to transient errors, such as network problems, are not counted into the 5 evaluations. But if you trigger more evaluation by mistake, or on purpose, it will be sanctioned. You are required to test your solution locally before submitting it.
-
FINALLY, when you are ready, assign the pull request to the instructor. This step is considered as the submission of your work.
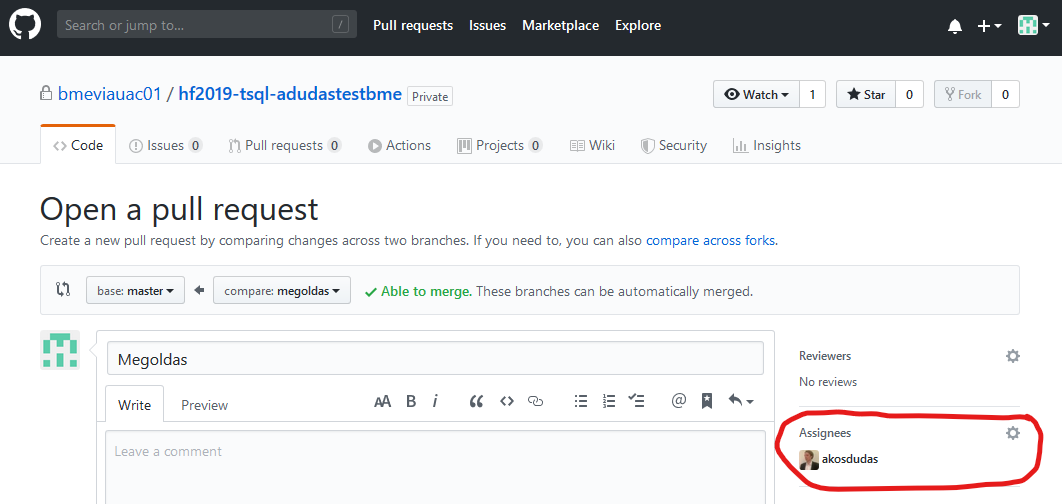
Without pull request
If you have no pull request, or it is not assigned to the instructor, we consider it work in progress and not submitted.
Done
Now you are ready. After assigning the pull request, make no further changes. The instructor will evaluate the submission and close the pull request.
Questions and complaints regarding the final result
If you have questions on concerns regarding the automated evaluation, use the pull request for communication with the instructor by asking questions via comments. To let the instructor know you have questions, please use the instructors GitHub handle to mention in the PR comment. This will automatically send an email notification.

Please provide proof
Please note that if you think the evaluation made a mistake, you must support your question/complaint with proof (e.g., show how you tested your solution and prove that it worked).